3D Paper Egg Wreath | Cherylann McCool | Silhouette UK Blog
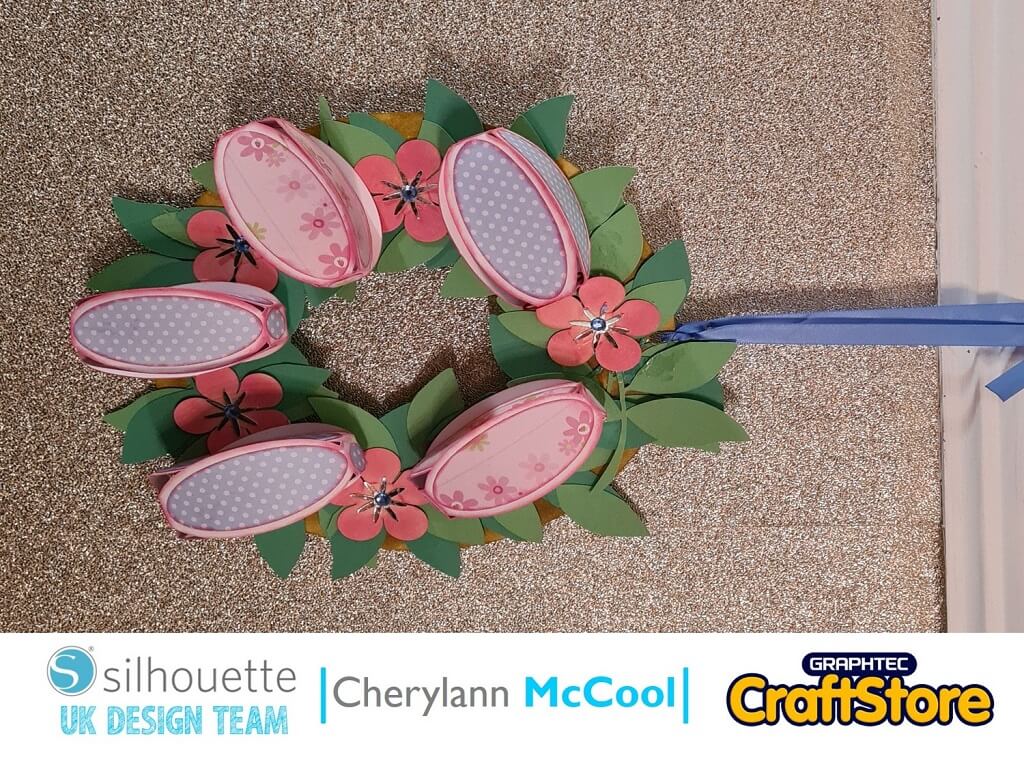
3D Cardstock Egg Wreath
Hi it’s Cheryl here again.
Hope you are having fun with your Silhouette machines. It’s amazing what we can make, from the simplest of things to the most complicated of designs but with the Cameo it’s never too difficult or out of reach and you will see this with this week’s project.
So lets go and start crafting.
Craft Materials Used
• Silhouette Cardstock
• Ribbon
• Adhesive Gems (For Central Flowers)
• Ink Pads

Open Your File
In your software, click to open your file and in the design space you will see that your design file opens.
Now, all you have to do is decide on the size of mat you will need to use.
Page Set Up
So now you want to look at the page Setup on the right hand side of your screen.
You want to make sure that your cutting mat and media size settings are correct for you.
With this file you will need to start with 12” x 12”.


Changing Your Cut Settings
Now you want to go top right hand side and click on the button marked send, you will see your screen change here.
On the right-hand side of the send window you want to check that your Material is selected at chipboard for first cut of the base, then for all the other parts you will choose cardstock.
Once material is selected you will see the numbers in the middle section change (make sure you are happy with these) then go to the bottom right-hand side and press send.
You will now do this for all the remaining parts.
NB: Note some of the file needs multiple cuts.
Building The Wreath
Once you have all your pieces cut and you are happy now it’s the fun bit, putting it all together.
First of all you want to glue your chipboard base to the card base and once set you want to spread the leaves about the base.


Putting It All Together
Now its time for you to put the eggs together.
First of all, put your single oval pieces around the egg base and now bring the egg sides up and glue the tab pieces together.
Then, add the small rectangle to the top and the circle to the bottom of the egg and repeat for the remaining 4.
Now all you need to do to complete the wreath is put all the pieces of the flower together and finish them off by putting the gems in the centre.
Building The Wreath
Now you want to glue your eggs to the outer side of the base and put a flower at each end.
To finish off the project, punch a hole and add some ribbon and there is your lovely Easter Wreath complete.


Oh how much fun was that to make!
I don’t normally bother with Easter but I love this and the base and the leaves could be used to make any other kind of wreath especially for Christmas.
If you do the base on a 12” card could you even make base bigger.
This doesn’t need to be hung up, it could be used as a candle base or table centre piece.
I wonder what fun we will have next time.
I do hope you try this design as it was a fun project even for kids to do.
Bye for now!
– Cherylann McCool xx –
Silhouette UK Blog Created By Cherylann McCool
Silhouette Products Used
Silhouette Designs Used
• Design Used: 3D Paper Egg Wreath
Design Store Artist: Jamie Lane Designs
Design ID: 57296 > Download
Share On Social Media

