Personalised Etched Keyring | Vickie McHugh | Silhouette UK Blog
Personalised Etched Keyring For Mother’s Day
I hope that you have been enjoying my crafty blogs, I have loved putting them together….
This week is a perfect personalised gift for any occasion, especially with Mother’s day around the corner.
My daughter is 4 and loves drawing and practicing writing her name, so I thought it would be a great idea to make a keepsake keyring using one of her drawings and her written name.
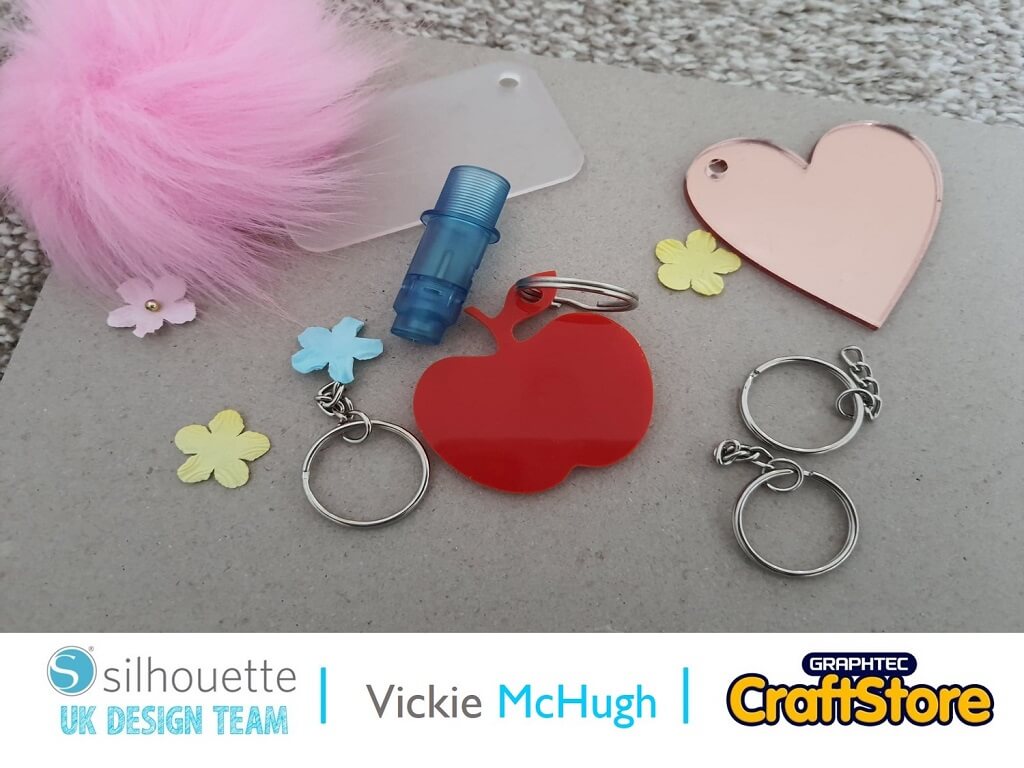
Items I Used
• Silhouette Curio
• Silhouette Chipboard
• Silhouette Stippling & Etching Tool
• Acrylic Blank
• Keyring & Jump Rings
• PomPom, Charms or Accessories

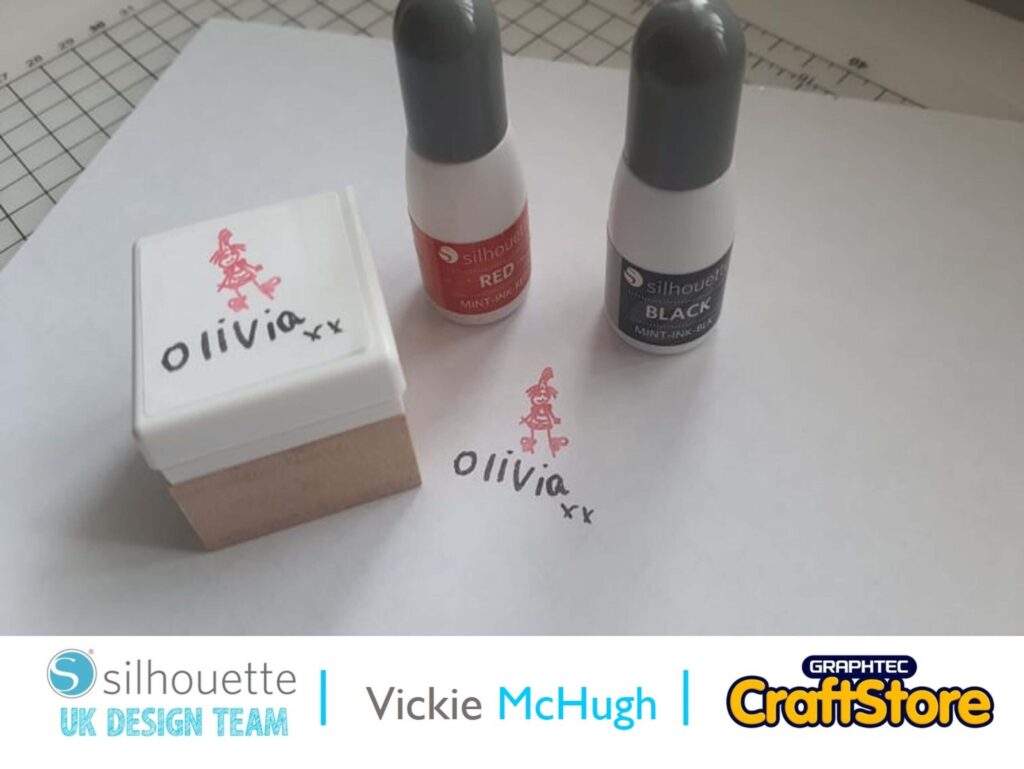
Creating The Drawing
Olivia has drawn me a beautiful clear picture and written her name in a Sharpie on a plain piece of paper.
Take a photo of the drawings and upload it to the computer.
Making The Template
To make sure that the heart doesn’t move while it’s being etched, a template needs to be made.
I am using Silhouette chipboard as it needs to be sturdy.
I have purchased my Acrylic Blank from Acrylic Craft (link below) and they come with a free template that can be imported into Silhouette studio by selecting File and Merge.
Once it’s imported, cut the shape out but make sure once its cut, you don’t move it on the screen or on the mat, just pop the center out.
The heart should then sit nicely in the cut holder without moving, please make sure the plastic covering has been removed from the shape.


Creating The Design To Be Etched
Import the saved images by clicking on file and merge. They will need to be resized.
A trace needs to be made of the images by using the Trace tab. Click Select trace area and highlight your image. Under the Trace Style, click Trace.
** If there is an incomplete trace, use the high pass to make sure everything will be traced.
Do this for all the images that you would like on the keyring
**Don’t forget – don’t move the heart on the screen**
Applying The Etch Settings
Click on the Emboss Tab and highlight the traced images.
Select Deboss
Under the Embossing Patterns, for spacing, you need to use the smallest possible which is 0.004 which is a complete fill. I have then selected the crosshatch, which is the square effect.
Your shapes should then be filled (mine is red)
**Don’t forget – don’t move the heart on the screen**


Moving The Images Onto The Heart
Once you are happy with the embossing settings, the images need to be placed onto the heart.
Make sure they have been resized and place them where you would like them embossed.
Make sure the heart template is not moved in this process.
Setting Up The Curio
Change over the tool in the Curio from the cutting tool to the etching tool (this has a blue casing).
Remove one of the number 2 platforms so you are left with a number 2,1 and your cutting mat.


Etching The Heart Keyring
Once this has been done and you are happy with the placing of the images on the heart. Click on the send tab.
Choose the Metal Sheet, Etch in the materials section, the action would be Etch and then tool is Etching Tool.
Set the force to 26, platform to 4 and thickness to 17. Number of passes should be one.
Prior to etching, make sure the outline of the heart is set to No Etch. Then send your etching job to the curio. Once is has finished, brush off the acrylic dust (I use a tooth brush) and attach it to your keyring embellishments and drum roll…your keyring is complete!

I hope you have enjoyed learning how to create this personlalisd etched keyring.
I will now be using this on my keys.
You don’t have to use a drawing, as long as the image is clear and it can be traced, you can use anything from photographs to pet prints.
You can now make the perfect personalised gift for a loved one.
– Vickie McHugh –
Silhouette UK Blog Created By Vickie McHugh

Silhouette Products Used
Silhouette Designs Used
• Design Used: Own
Share On Social Media


