Personalised Shadow Box Frame | Cherylann McCool | Silhouette UK Blog
Personalised Family Photo Frame
Hi it’s Cheryl here again.
Who needs an excuse to play with their cameo?
We always make cards or gifts for other people, me included, but we forget that we can make things to decorate our own homes with.
So why not come and join me in making this project for your own home.
Craft Materials Used
• Silhouette Premium Vinyl
• Silhouette Tool Kit
• White card
• Glue
• Transfer Tape
• Ribbon

Open Your File
In your software open your shadow box frame file in the design space.
You want to make sure you Choose 12 x12 mat.
Send Pieces To Be Cut
With the piece on your screen hit send and you will see your screen change.
Change your material to cardstock, plain.
If happy with the settings then hit send.
Repeat this for all of the other pieces.


Building The Shadow Box
To build your shadowbox, match the long and short pieces together and glue them.
You may want to build them into a frame to ensure the corners make a right angle and once they all fit they can be glued together.
Assembling The Shadow Box And Ribbon
Next you want to glue the side pieces onto the backing and then with the 2 frame pieces glue these onto the front.
Get your ribbon and put it through the two holes.
Next, glue the top piece onto the top of the frame and make sure the ribbon can’t be seen underneath.
Your shadowbox frame is now complete and can be put aside.


Image Personalisation
Now you want to open your vinyl file.
Measure the space inside your frame so you can adjust the size of the file.
To do this click to get a black box around the file and drag the corners until you get your desired size.
At this point you will want to type your name and choose the font to add to the design when cutting.
When happy with your design, click send.
Cutting The Vinyl
You will see your screen change and change your material to vinyl, Silhouette Oracle 651 and then click send to cut.
Once your vinyl has been cut, remove it from the mat.
Next you will need to remove all of the excess vinyl that is not needed.


Vinyl Application
Carefully weed away the vinyl with your tool kit and then put your transfer tape over the vinyl and rub carefully.
Peel the backing off the vinyl and then place into the centre of your shadowbox frame and again rub carefully until the vinyl attaches to the card.
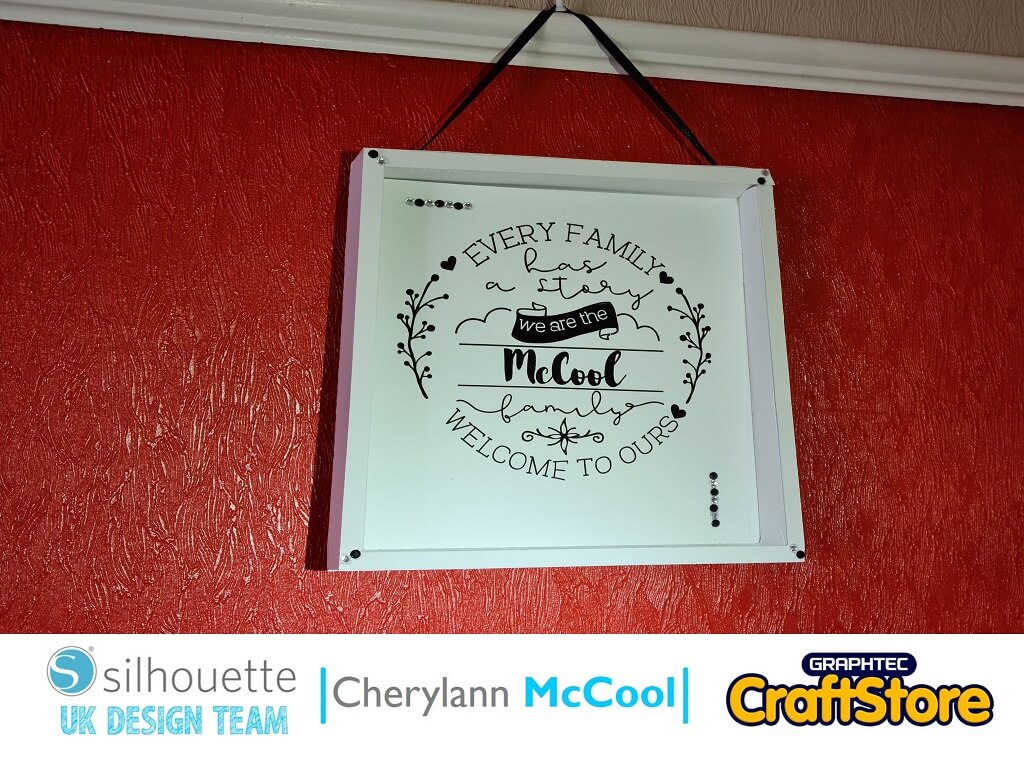
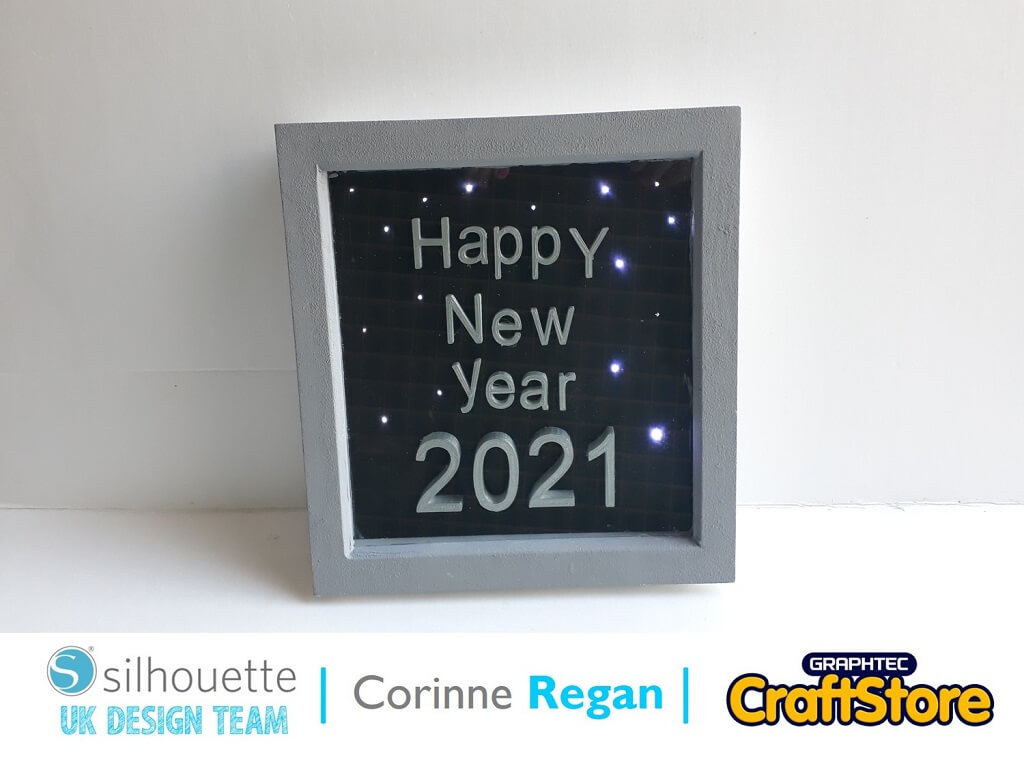
Your Personalised Home Décor piece is now complete!

I really loved this project!
The reason I love making shadowbox frames is because I feel as thought they look very professional when completed.
They would look gorgeous in a hallway and you can even turn these into frames and all the pictures you could put in and give as a gift.
Well that’s me for this week folks, you will hear from me again in a few weeks.
– Cherylann McCool xx –
Silhouette UK Blog Created By Cherylann McCool
Silhouette Products Used
Silhouette Designs Used
• Design Used: ‘Every Family Has A Story Welcome To Ours’
Design Store Artist: Graphic House Design
Design ID: 330718 > Download
•Design Used: 11.3 x 11.3 Square Shadow Box Frame
Design Store Artist: Lori Whitlock
Design ID: 37572 > Download
Share On Social Media
