Sliding Rose Boxes | Cherylann McCool | Silhouette UK Blog
Sliding Rose Boxes
Hi it’s Cheryl here again.
The weather is slowly improving and hopefully we will be able to see our family and friends again soon.
If you enjoy your national holiday and maybe have a birthday or just want to give a gift then take a look at this week’s project, its perfect so such occasions.
Let’s get crafting.
Craft Materials Used
• Silhouette Cardstock
• Ribbon
• Glitter Glue
• Adhesive Gems
Open Your File
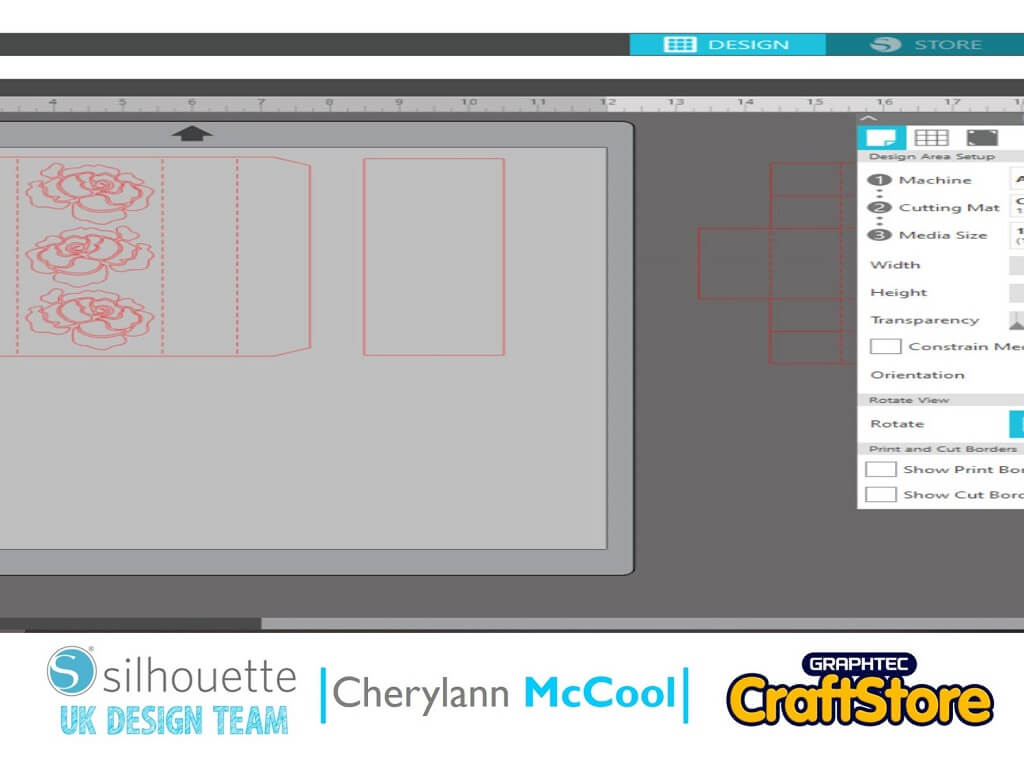
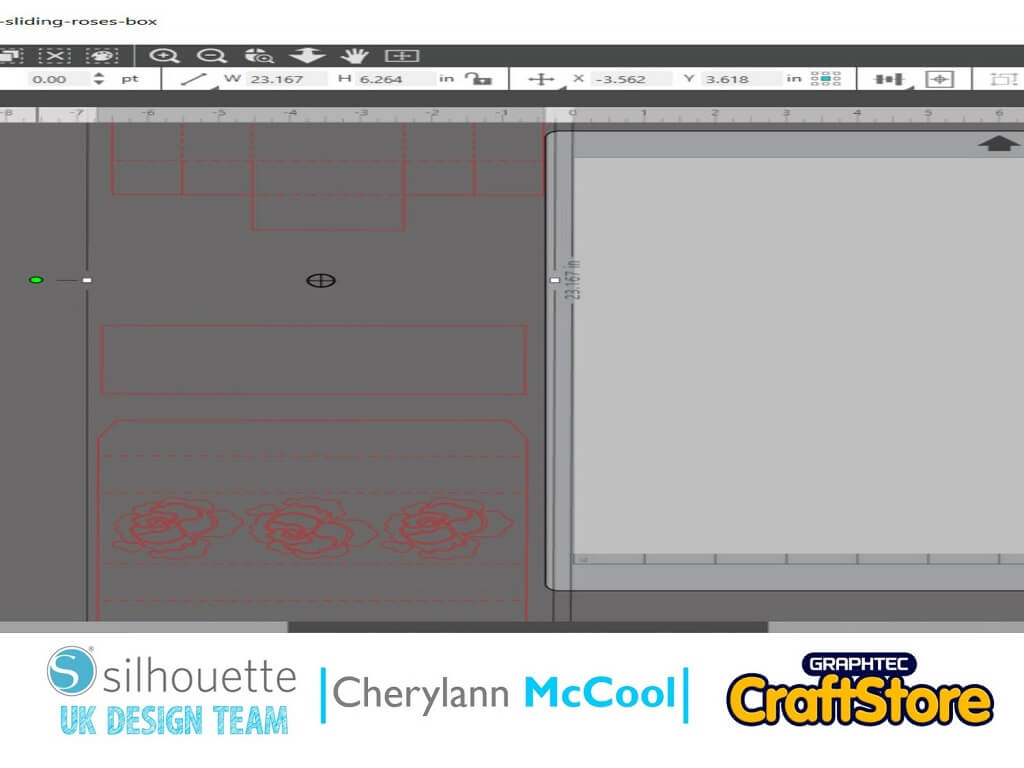
In your software, click to open your file and in the design space you will see that your design file opens.
Now, all you have to do is decide on the size of mat you will need to use.
Page Set Up
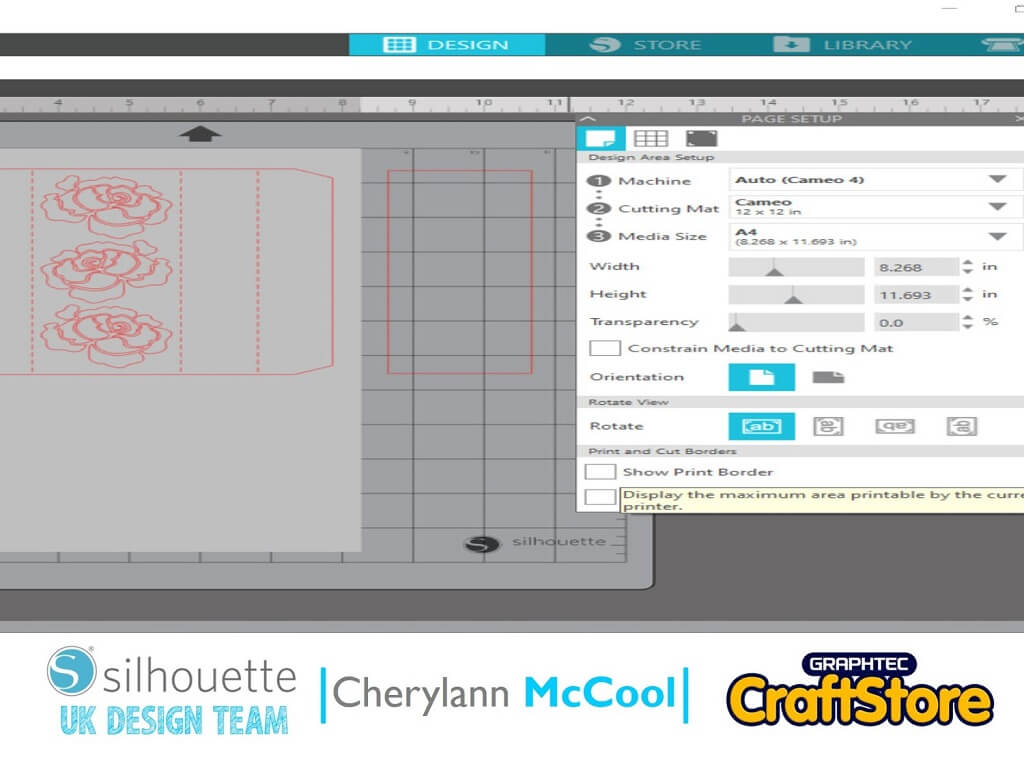
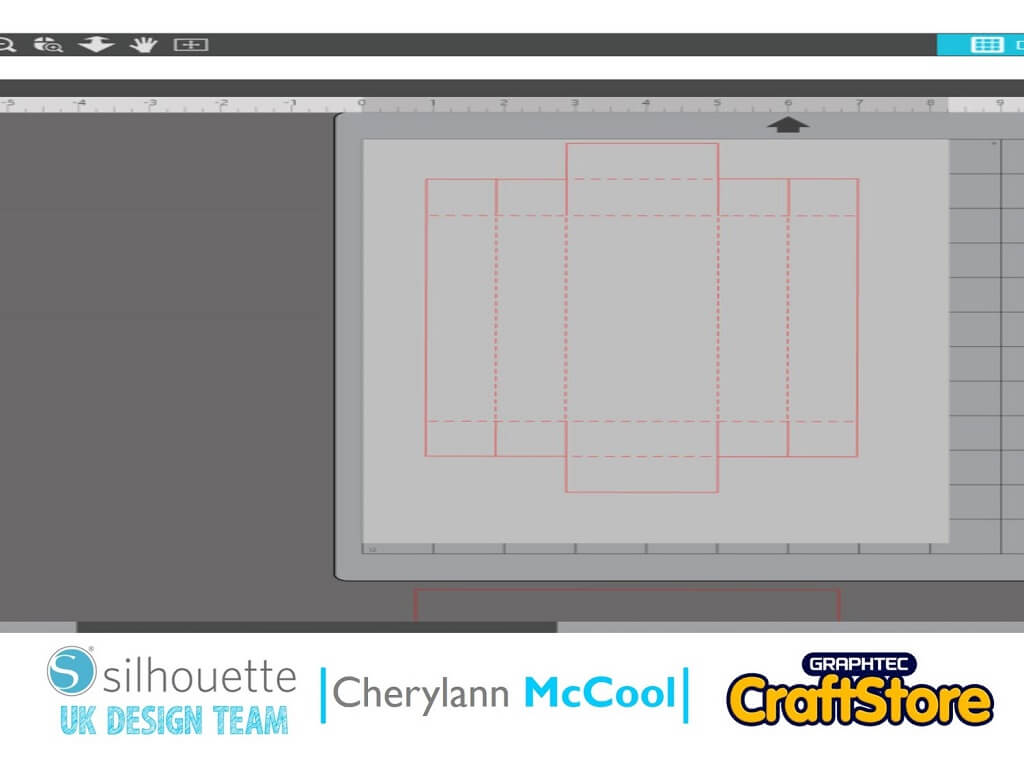
So now you want to look at the page Setup on the right hand side of your screen.
You want to make sure that your cutting mat and media size settings are correct for you.
With this file I chose to use A4.
Changing The Orientation
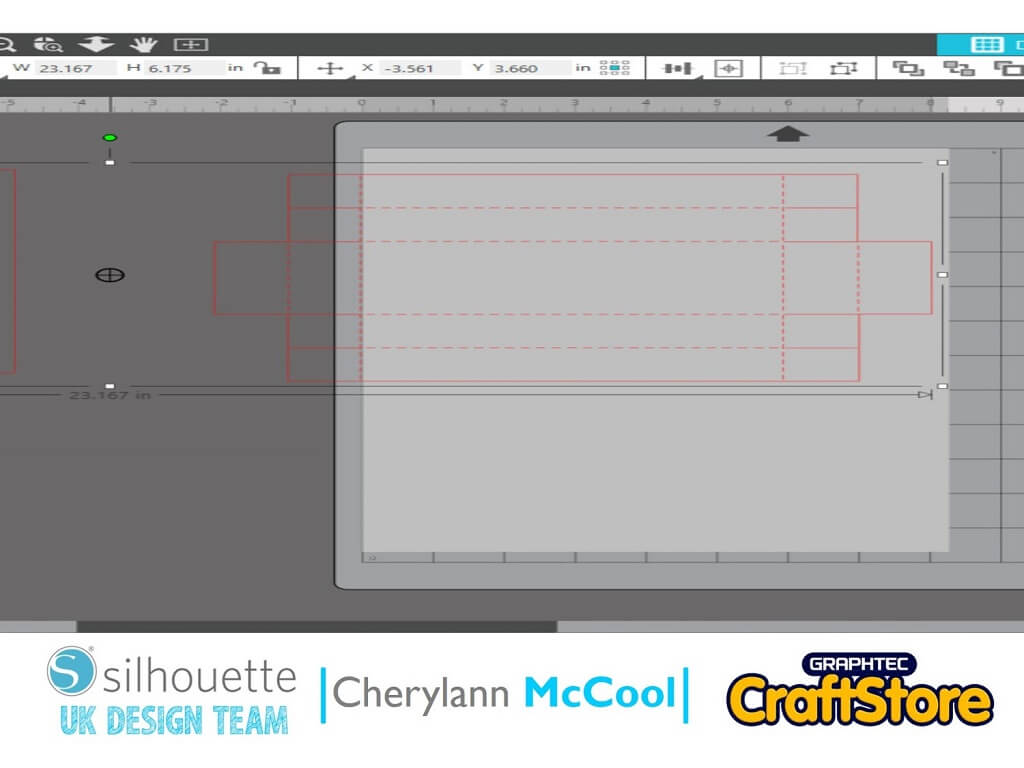
You will see that your image is lying landscape and to fit on our A4 mat we need to change to it to portrait.
To do this, click on the outside of the design and you will see black box around the whole file.
With the green circle that you would normally find in the middle of the file you want to click on this.
Now, turn it to make your sure file is now lying portrait and lie the bottom part of box on mat first.
Send To Cut
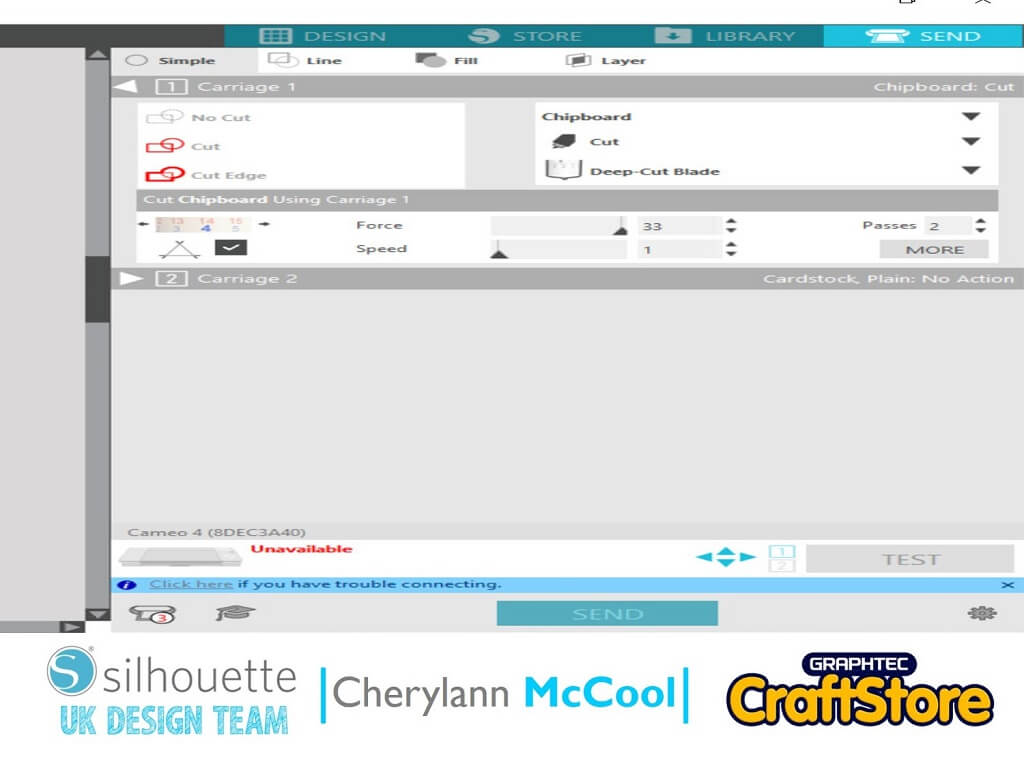
Now you want to go and press send up in the top right hand corner and here you will see your screen change.
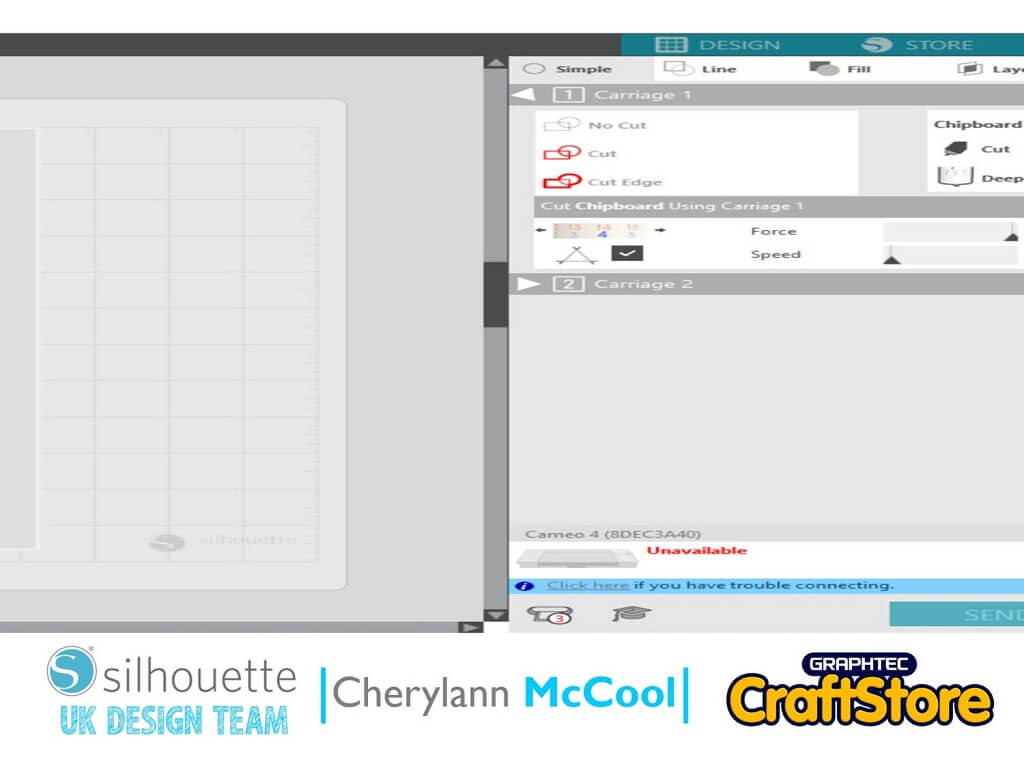
Now you want to change your material to chipboard and then you will see the settings change to suit your material if happy then press send to cut.
Repeat
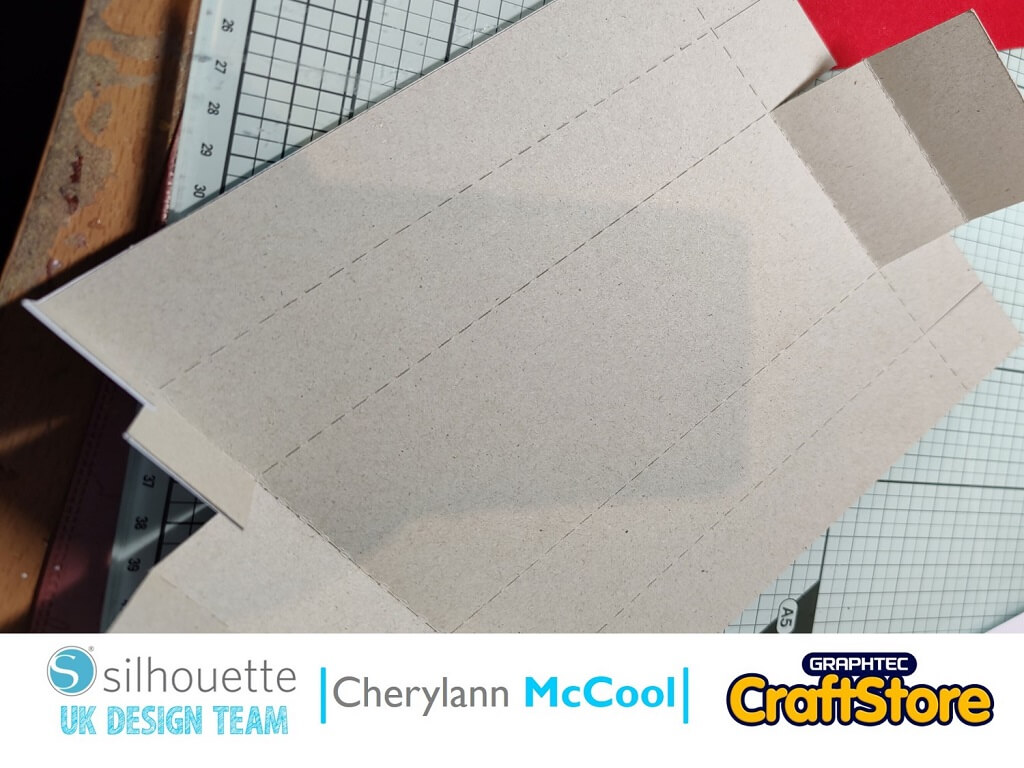
Now you want to repeat the steps above for the other parts and change material to cardstock.
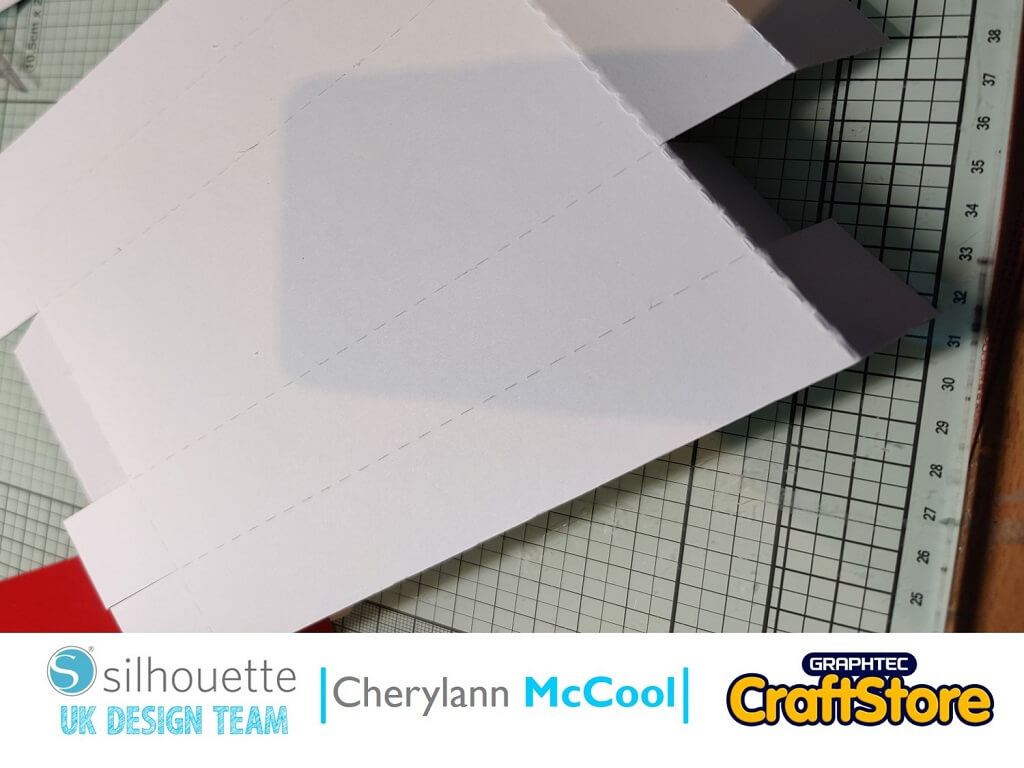
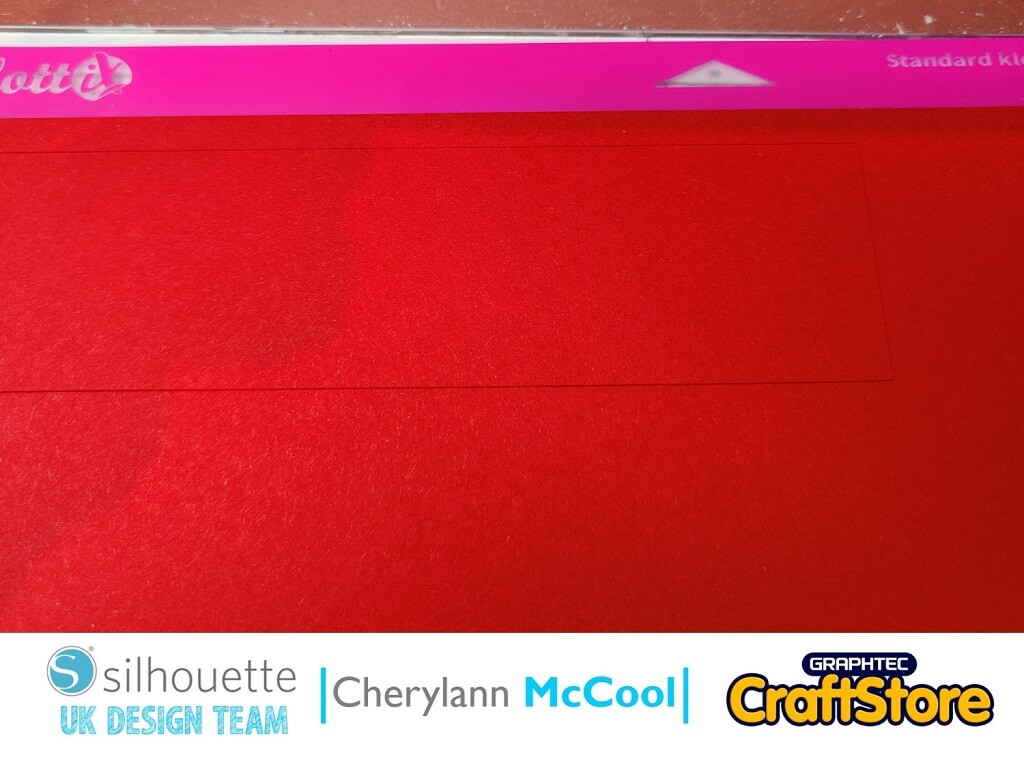
Make sure you cut the bottom box again out of white card and once all parts cut the fun bit starts.
Completing the Roses
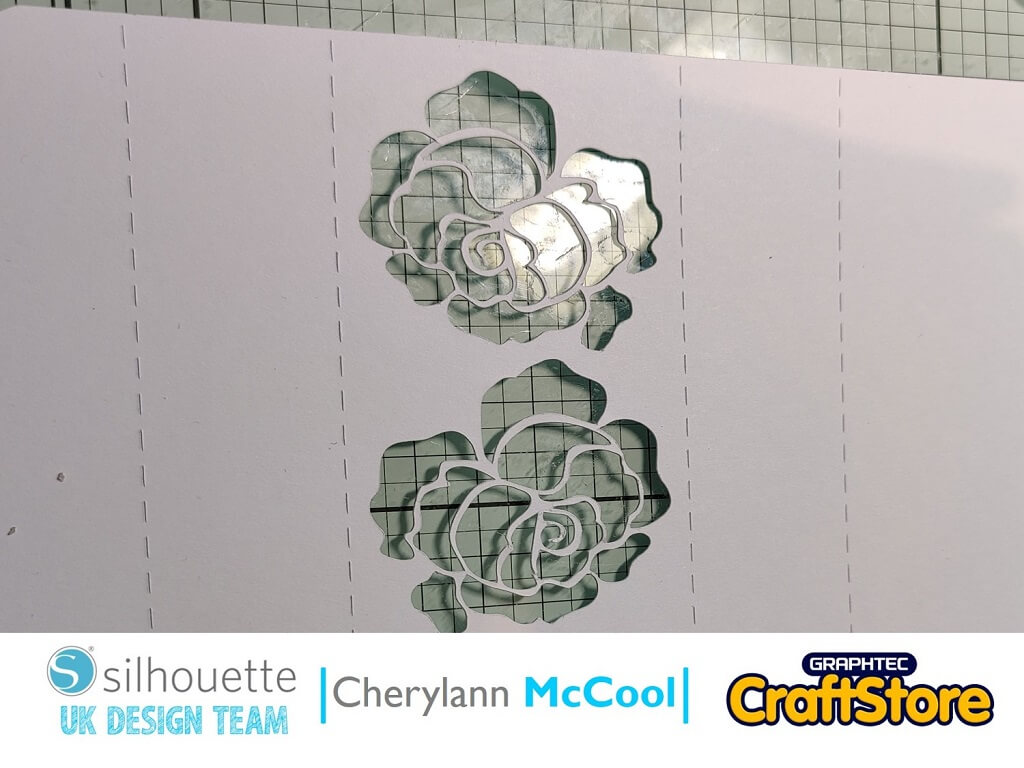
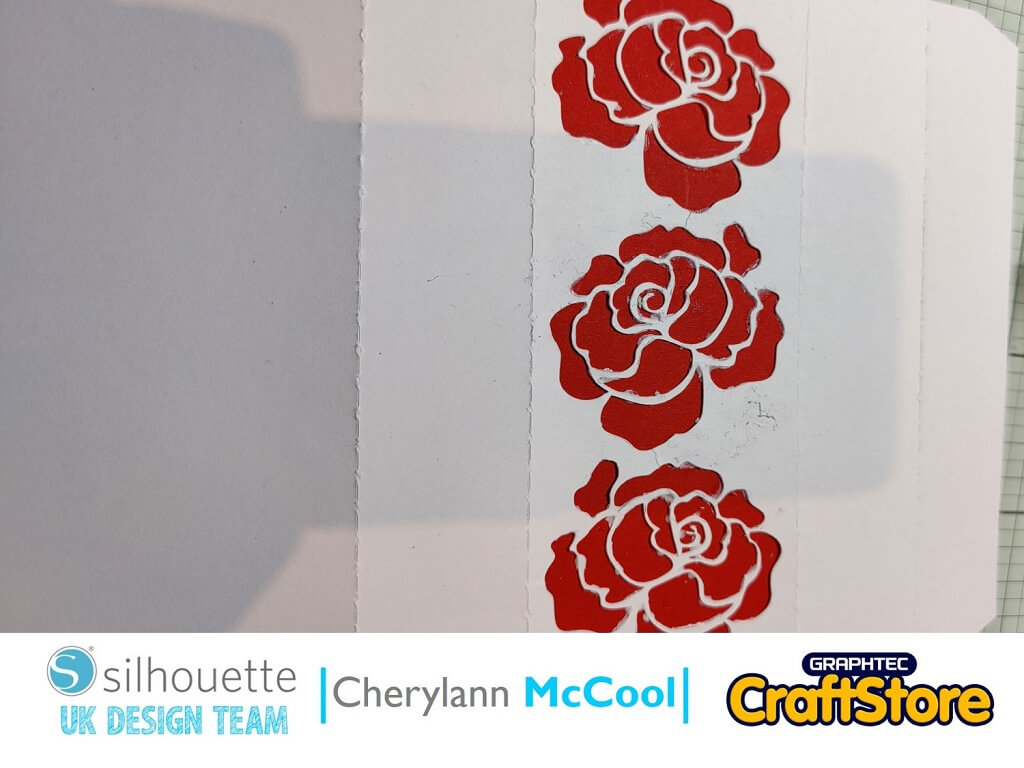
Now to put it all together, first you want to glue the white card bottom bit on to the bottom chipboard and whilst that’s drying if you weed out all the pieces from the roses.
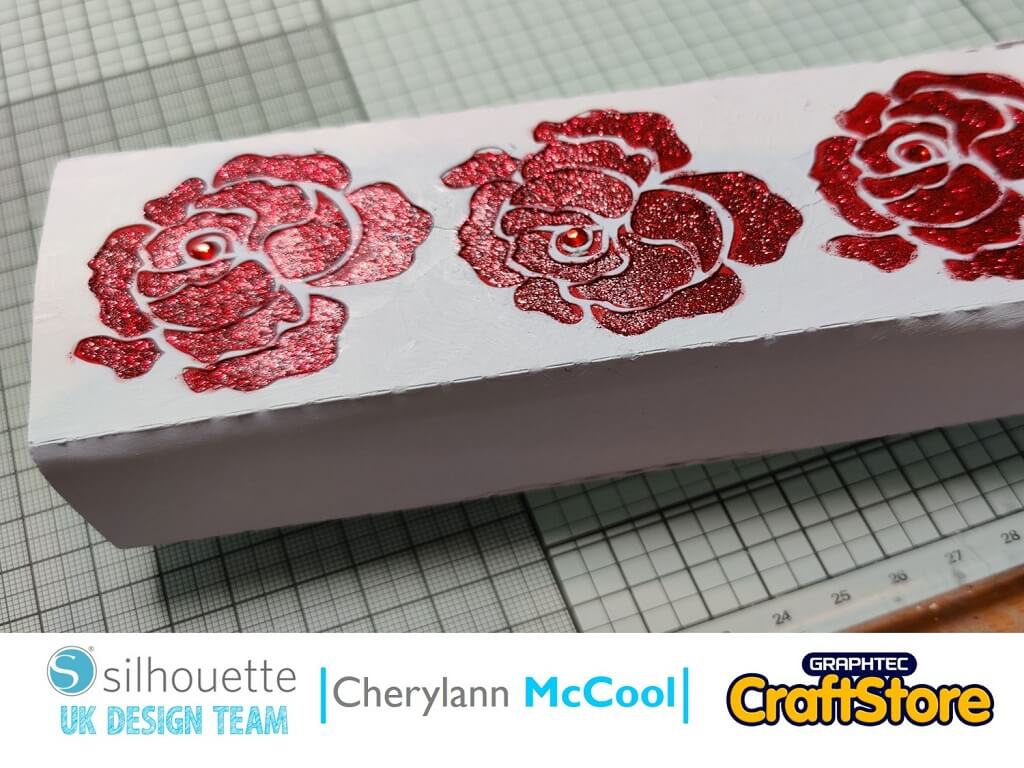
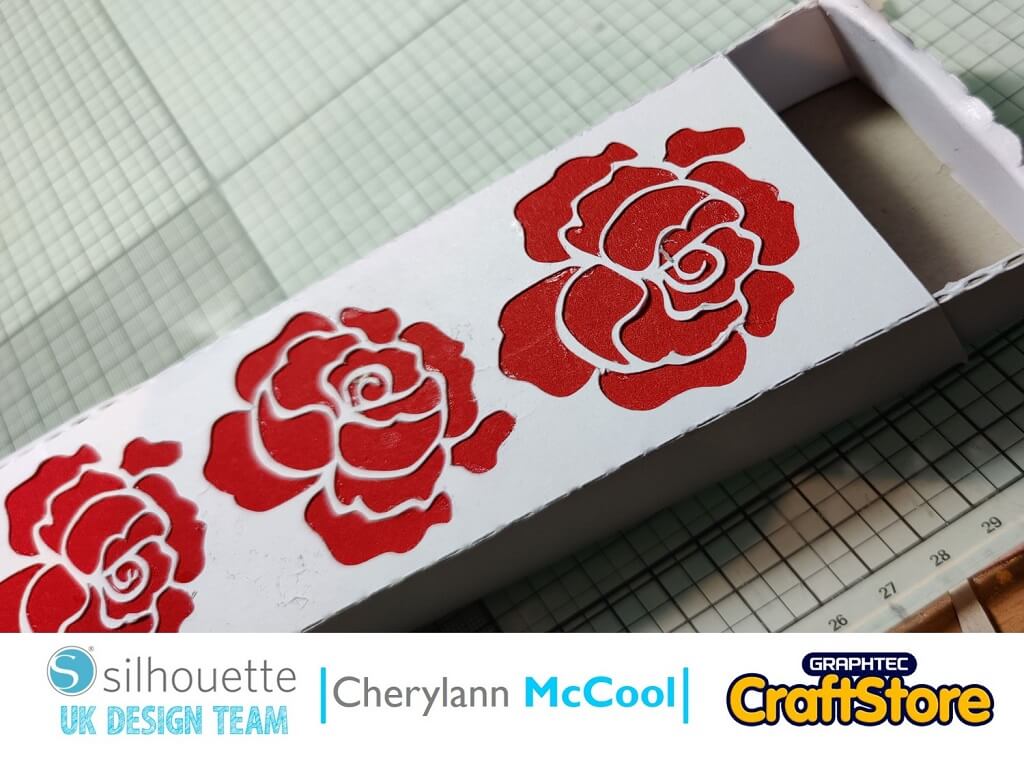
Glue the red card onto the back of the roses and fold all the lines on the top and bottom part to complete.
Folding The Box
Now to put it all together.
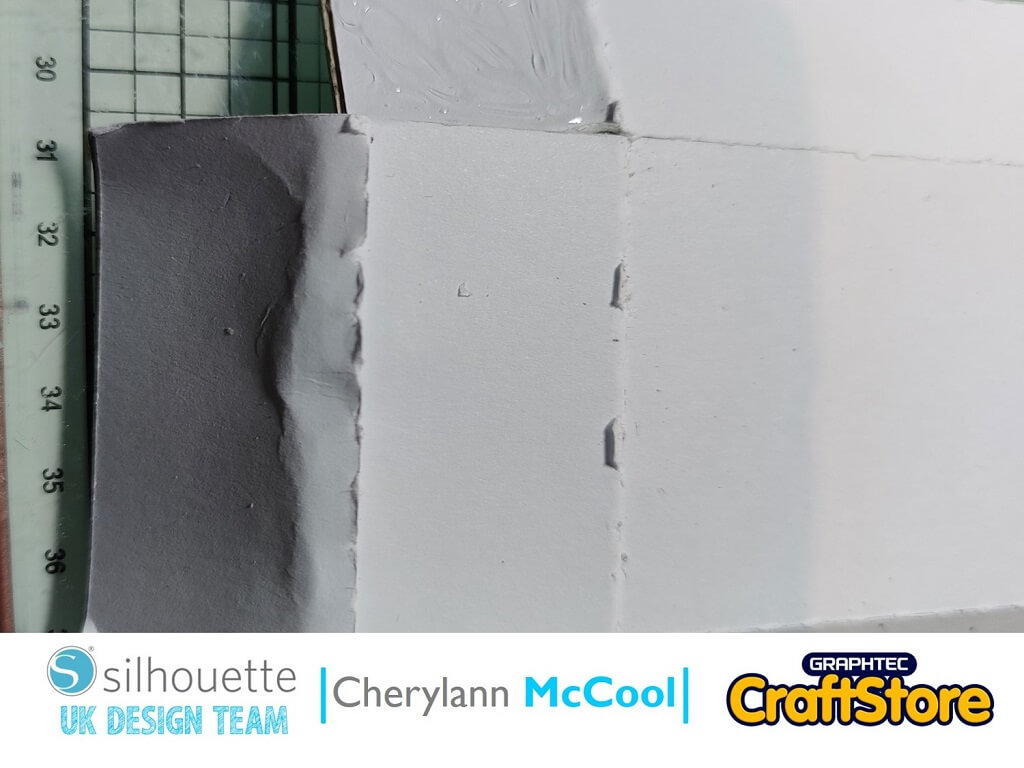
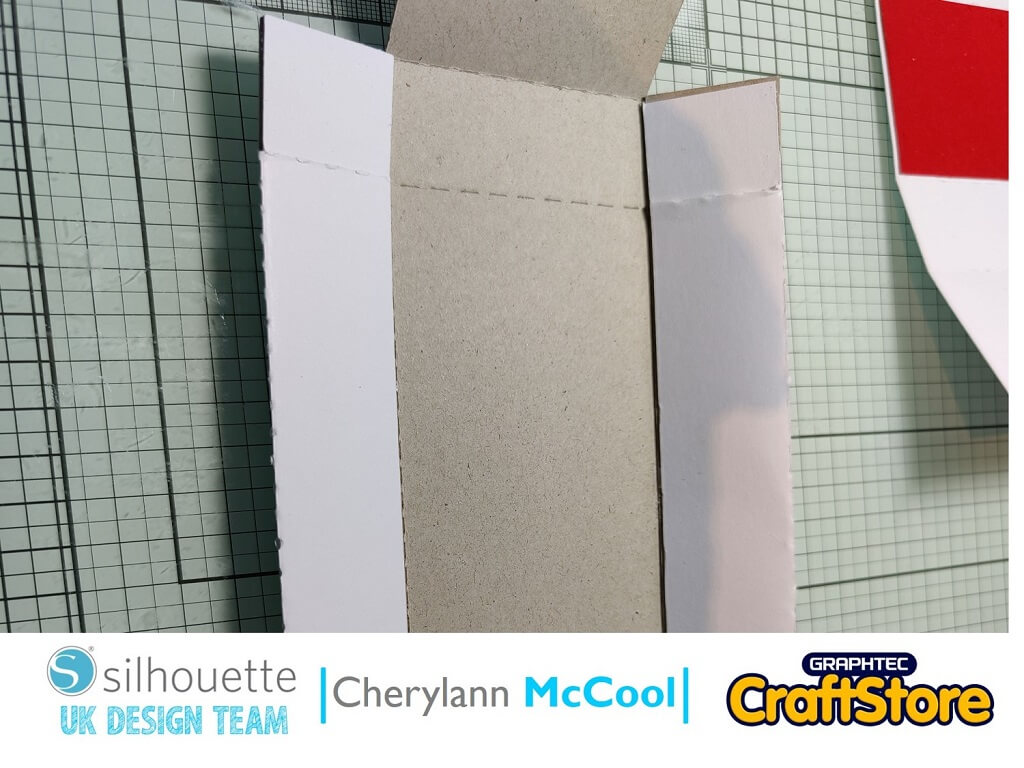
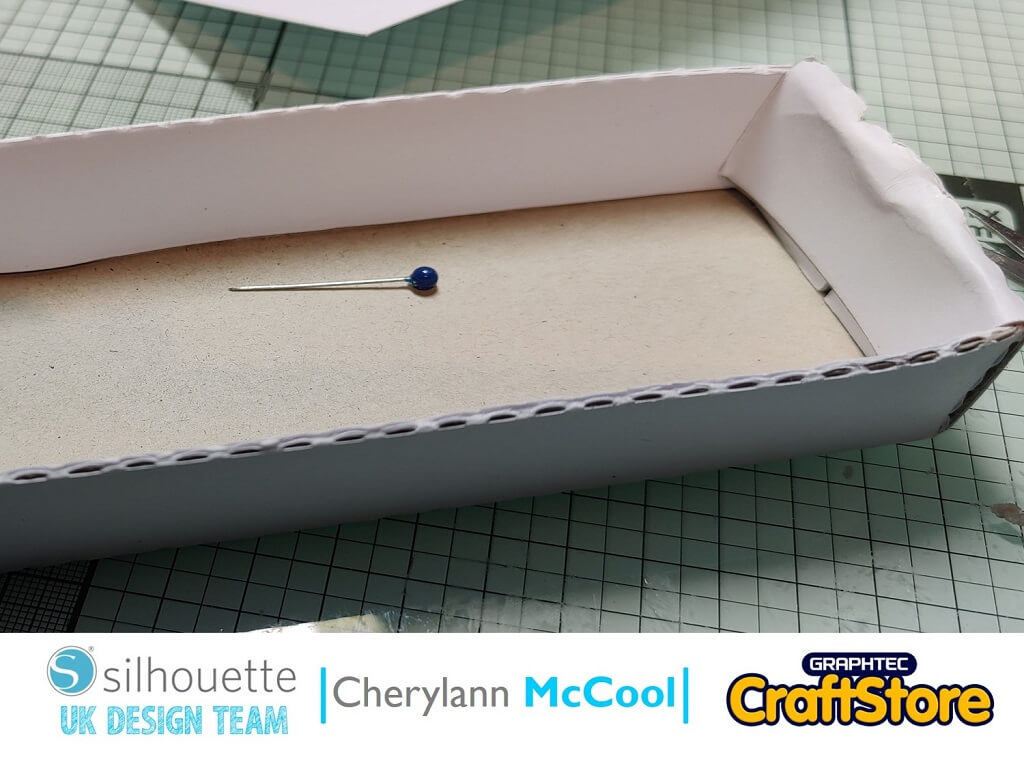
Wrap the top part until it forms a box shape and glue the shaped part to the inside of the flat white piece.
With the bottom part, you are folding the sides and ends inside and glue all the parts to hold and you have a lovely box shape.
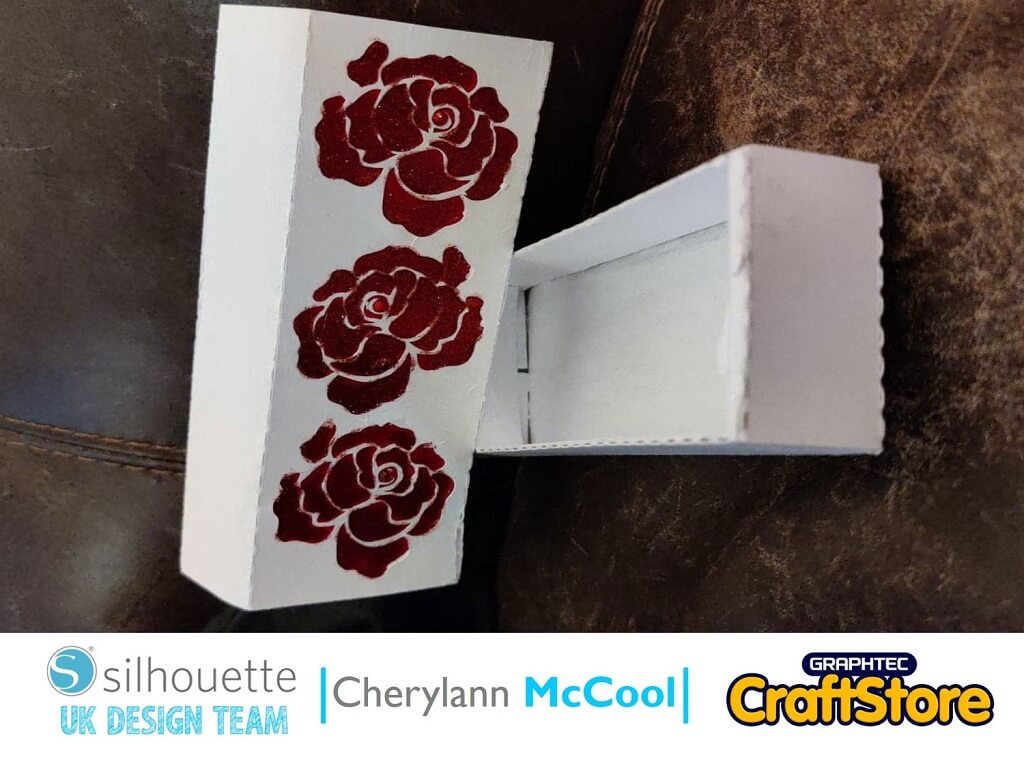
Now slide it into the top piece and you have a lovely box.
To finish the box off I put some gems into the centre.
Oh how much fun and quick was that to make and if like me would prefer to make this for St George’s day than use football ideas, it’s also perfect for other themes such as a wedding favour.
I do hope you try this design as it was a fun project and quick but looks really good.
Well, I hope you will come and join me on my next project where we will be making a wedding item that can be a gift or used for something else so you will just need to come and see.
Have a great week!
Bye for now!
– Cherylann McCool xx –
Silhouette UK Blog Created By Cherylann McCool
Silhouette Products Used
Silhouette Designs Used
• Design Used: 3D Sliding Rose Boxes
Design Store Artist: Jamie Lane Designs
Design ID: 57296 > Download
