Wedding Invitation | Vickie McHugh | Silhouette UK Blog

Creating A Beautiful Wedding Invitation
With wedding season around the corner, why not tap into your creative side and make your own wedding stationary. In this tutorial you will learn how to make a layered wedding invitation.
Items I Used
• Cardstock
• Foam Sticker Risers
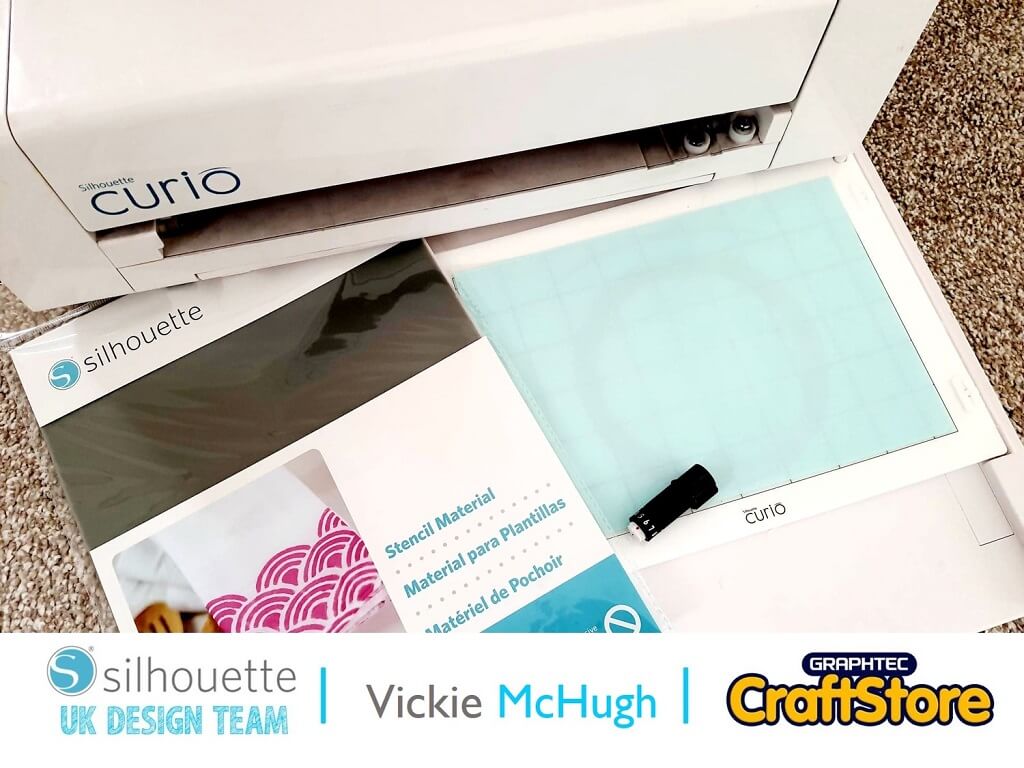
• Silhouette Curio
• 8.5 x 12″ Cutting Mat
• Glue


Purchasing & Importing The Designs
Having looked in the Silhouette design store, I found a beautiful layered wedding invite template.
Once it is purchased it can then pulled it into Silhouette studio from the library by double clicking on the file.
Creating The Wording
To print writing onto the card, you can either write straight onto the template, or like me, draw a square as I want this in a white card as opposed to silver.
Based on the size of the card itself, the square I have drawn is 4.5”.
I have then used a mixture of fonts, Wedding Invite and Ariel to write out my wording.


Printing The Wording & Cutting It Out
To be able to print and cut the wording, go to Page Set up on the right hand side and turn registration marks on.
Then file and print.
Place the printed A4 onto the large 8.5 x 12” mat. Click on Send in design studio. Change the cut settings, mine are:
Material: Cardstock Textured
Blade: 3
Force: 30
Speed: 4
Passes: 1
Click Send.
The Curio will now read the registration marks printed and cut out the rectangle.
Cutting Out The Rectangle
Now I am going to make the card itself and to do this, I am using a 240g double sided silver card I purchased from eBay.
Place the card on the large 8.5 x 12” mat. Click on Send in design studio.
I am using the same settings I used to cut out my wording:
Material: Cardstock Textured
Blade: 3
Force: 30
Speed: 4
Passes: 1
Click Send.


Cutting The Intricate Flourish Design
For the top layer of my invite, I am using a beautiful silver glitter card.
Place the card on the large 8.5 x 12” mat.
Click on Send in design studio. As I am using a thicker card, I have changed the setting:
Material: Cardstock, Glitter
Blade: 6
Force: 33
Speed: 3
Passes: 2
Click Send.
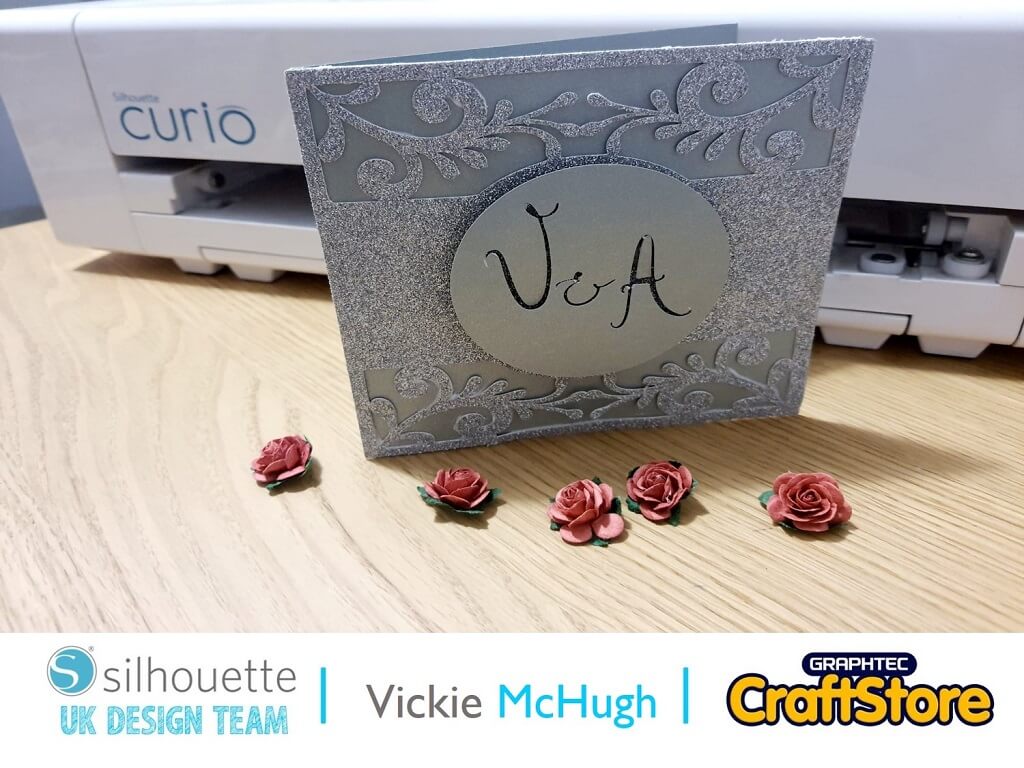
Initials Disk
Using the template provided I have written initials using the Wedding Invite font and placed them within the circle.
Again, I am using the silver card stock, so having placed it o my mat I change the settings to:
Material: Cardstock Textured
Blade: 3
Force: 30
Speed: 4
Passes: 1
Click Send.
You have then cut out all of the pieces.


Putting The Card Together
Fold the large rectangle in half to form the card.
Using double sided sticky tape, place strips on the underside of the text, and place inside the card.
Using glue with a precision end, glue the back of the glitter card and place on front of the card.
Using foam sticker risers, place on the back of the circle with the initials on. This will make them stand out from the card and give it some dimension.
Once this glue has dried the card is completed.
I hope you have enjoyed this tutorial on how to make a wedding invitation.
There are plenty of templates to choose from in silhouette studio, so have a look and I look forward to seeing what you make.
Please don’t forget to tag me on Instagram so I can see your masterpieces @crafty_vickie
It’s another wedding tutorial next time creating a beautiful frame.
– Vickie McHugh –
Silhouette UK Blog Created By Vickie McHugh

Silhouette Products Used
Silhouette Designs Used
• Design Used: Wedding Layer Card
Design Store Artist: Daniela Angelova
Design Store ID: 163588 > Download
• Design Used: Wedding Invite Font
Design Store Artist: Rivka Wilkins
Design Store ID: 298841 > Download
Share On Social Media

